App Localization Tool: Translate .strings & .arb Files

ASO.dev is designed to help application developers and localization specialists with their translation needs. It integrates Google Translate API, DeepL Translate API, OpenAI (Chat GPT), Claude, DeepSeek translations to provide accurate and context-aware translations for mobile application localization. The app supports both the widely used .arb (Application Resource Bundle) and .strings file formats for seamless import and export of data, allowing users to effortlessly manage and localize their applications for different languages and regions. You can fill in their DeepL, Chat GPT, Claude, DeepSeek API keys in the settings screen without sending them anywhere, ensuring security and privacy.
ASO.dev app supports a wide range of languages, allowing users to choose their desired source and target languages for translation.
You can translate multiple strings or entire .arb, .strings & .xcstrings files in one go, saving time and effort in the localization process. ASO.dev supports cloud synchronization, enabling users to access their translation projects from multiple devices.
The intuitive and easy-to-navigate interface simplifies the localization process for users, regardless of their experience level.
Getting Started
Section titled “Getting Started”Step 1: Log into ASO.dev
Section titled “Step 1: Log into ASO.dev”How to Log In: Use Your Apple Account or email to access the platform.
Step 2: Create a Project
Section titled “Step 2: Create a Project”After logging in, in the Projects page. tap “+” button. Name your ASO.dev project.
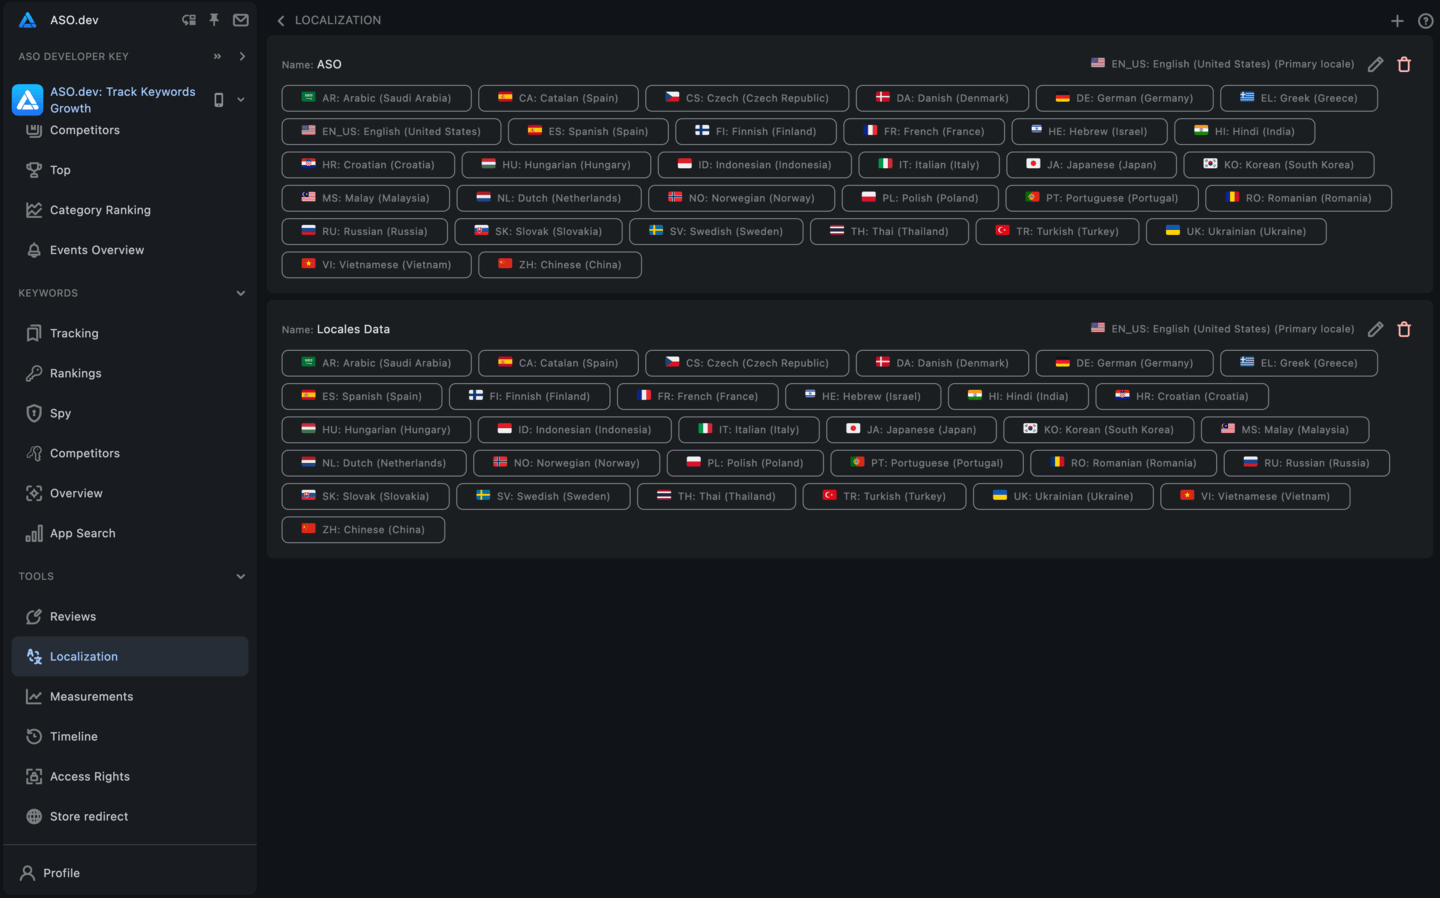
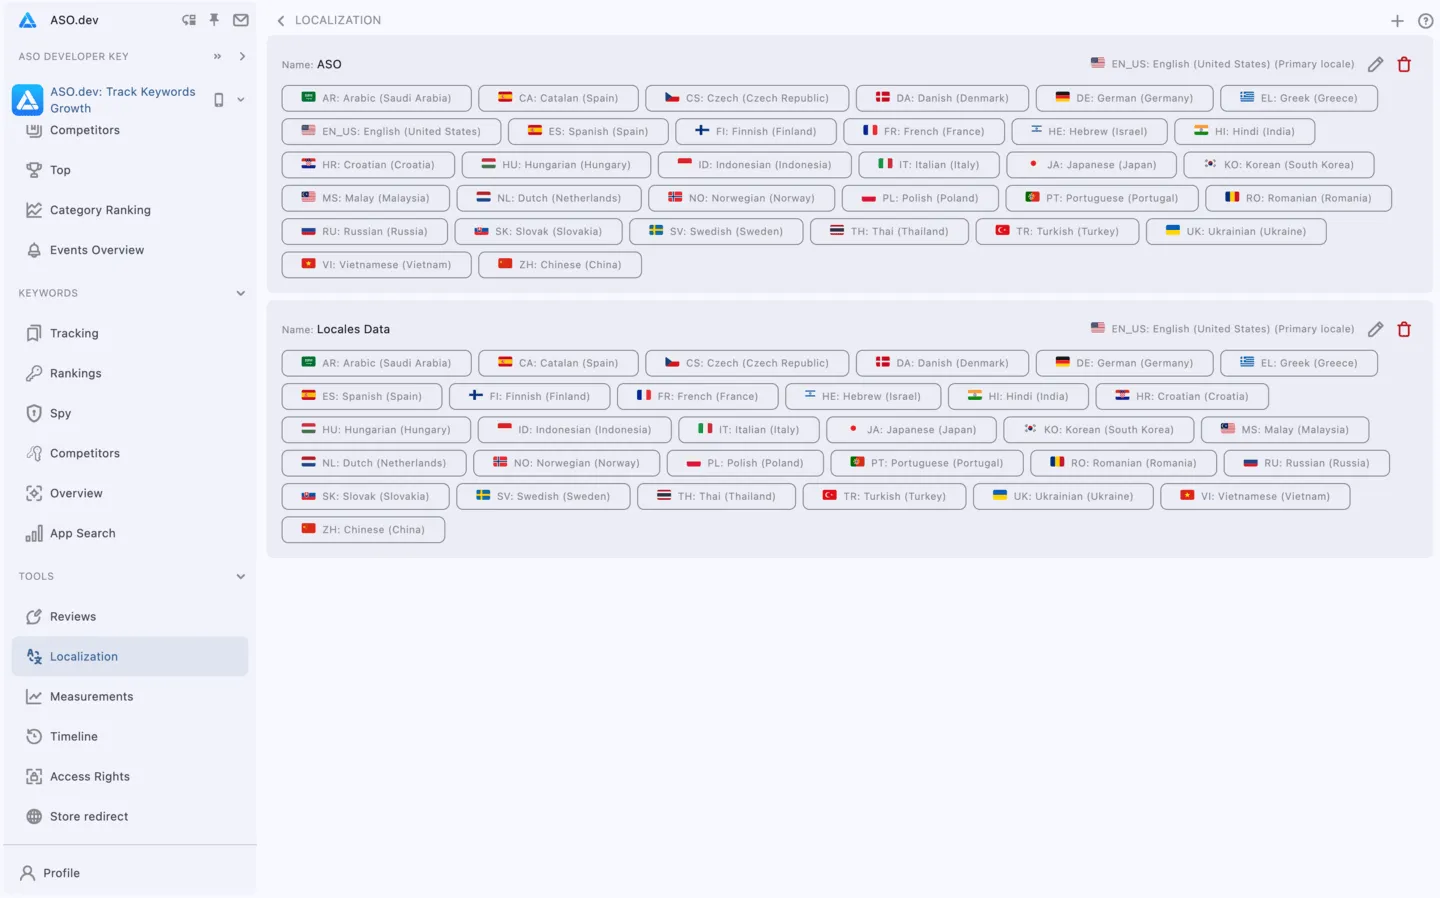
Step 3: Navigate to Localization Section
Section titled “Step 3: Navigate to Localization Section”Go to the “Localization” page and click the ”+” button. Name your localization project and select a base language to begin with.


Step 4: Upload Files or Add New Keys
Section titled “Step 4: Upload Files or Add New Keys”Uploading Files: You can upload your localization file by either dragging and dropping it into ASO.dev or using the “Import” button at the top of the page.
Adding Keys: Alternatively, you can begin by adding keys directly in ASO.dev.
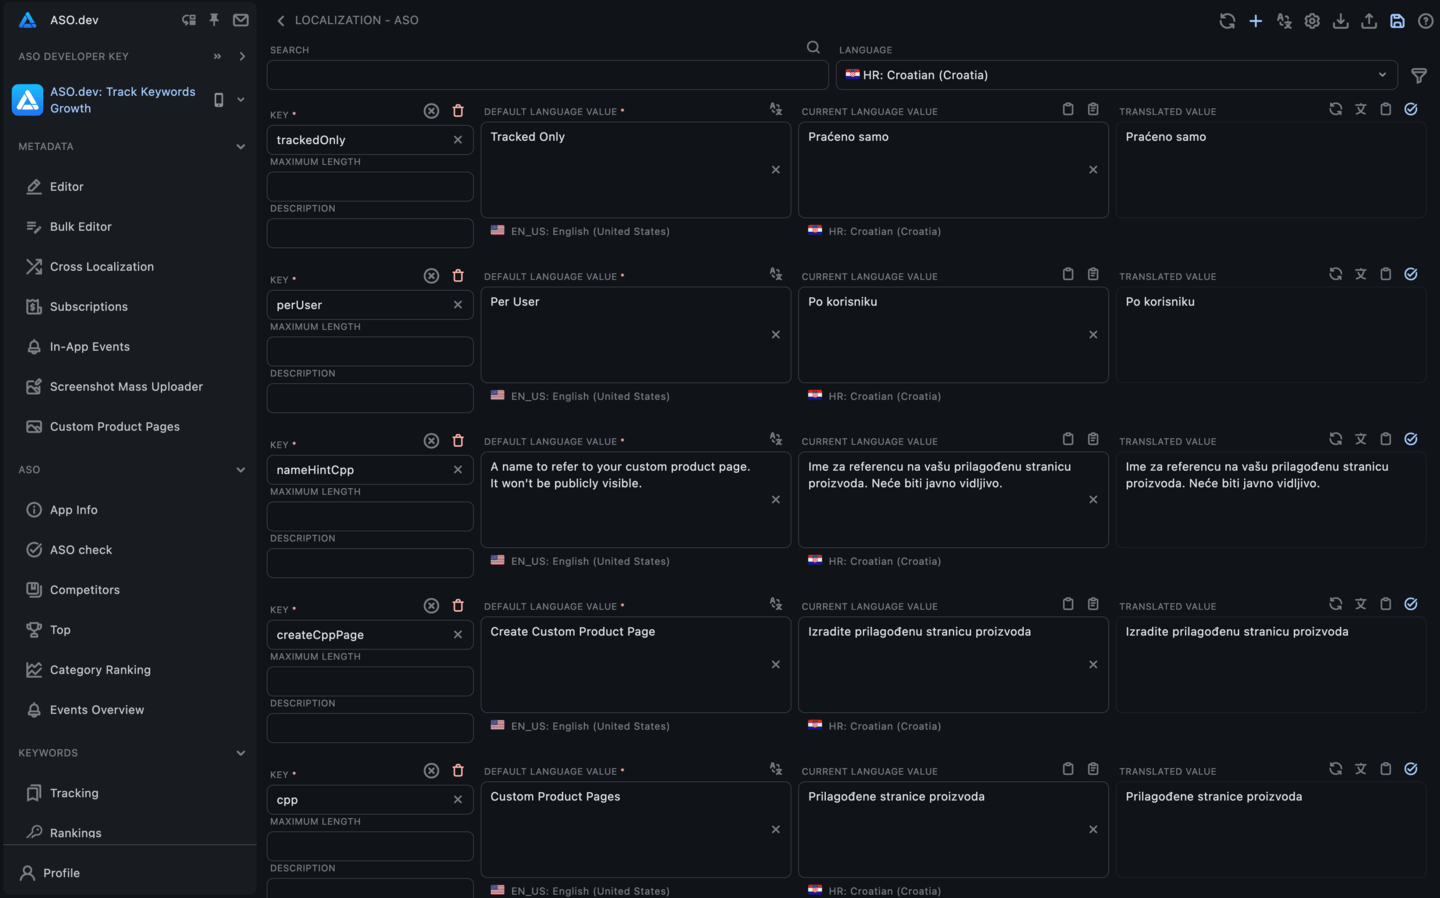
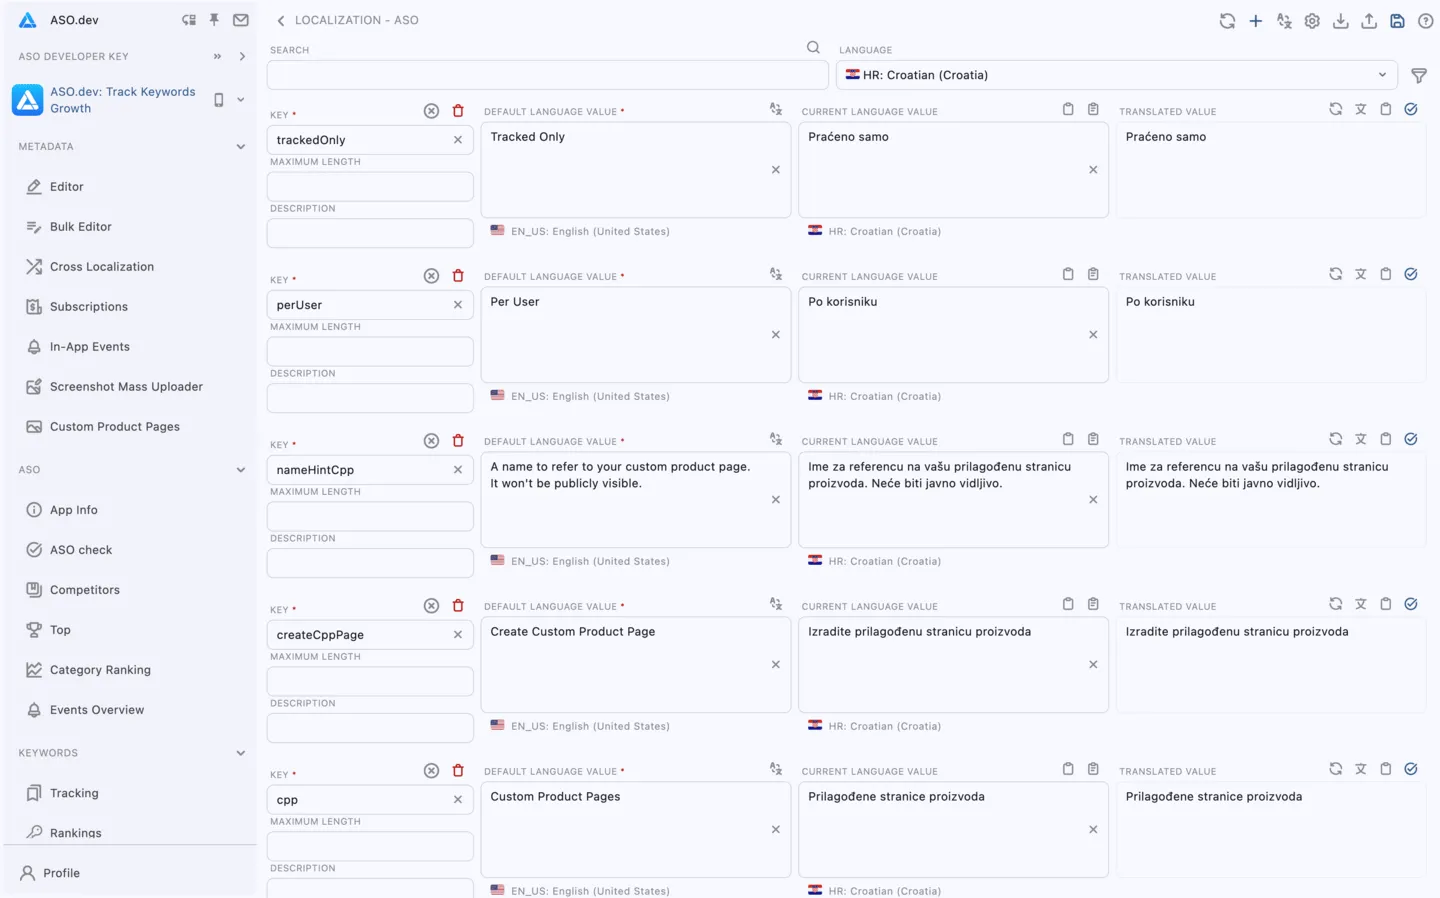
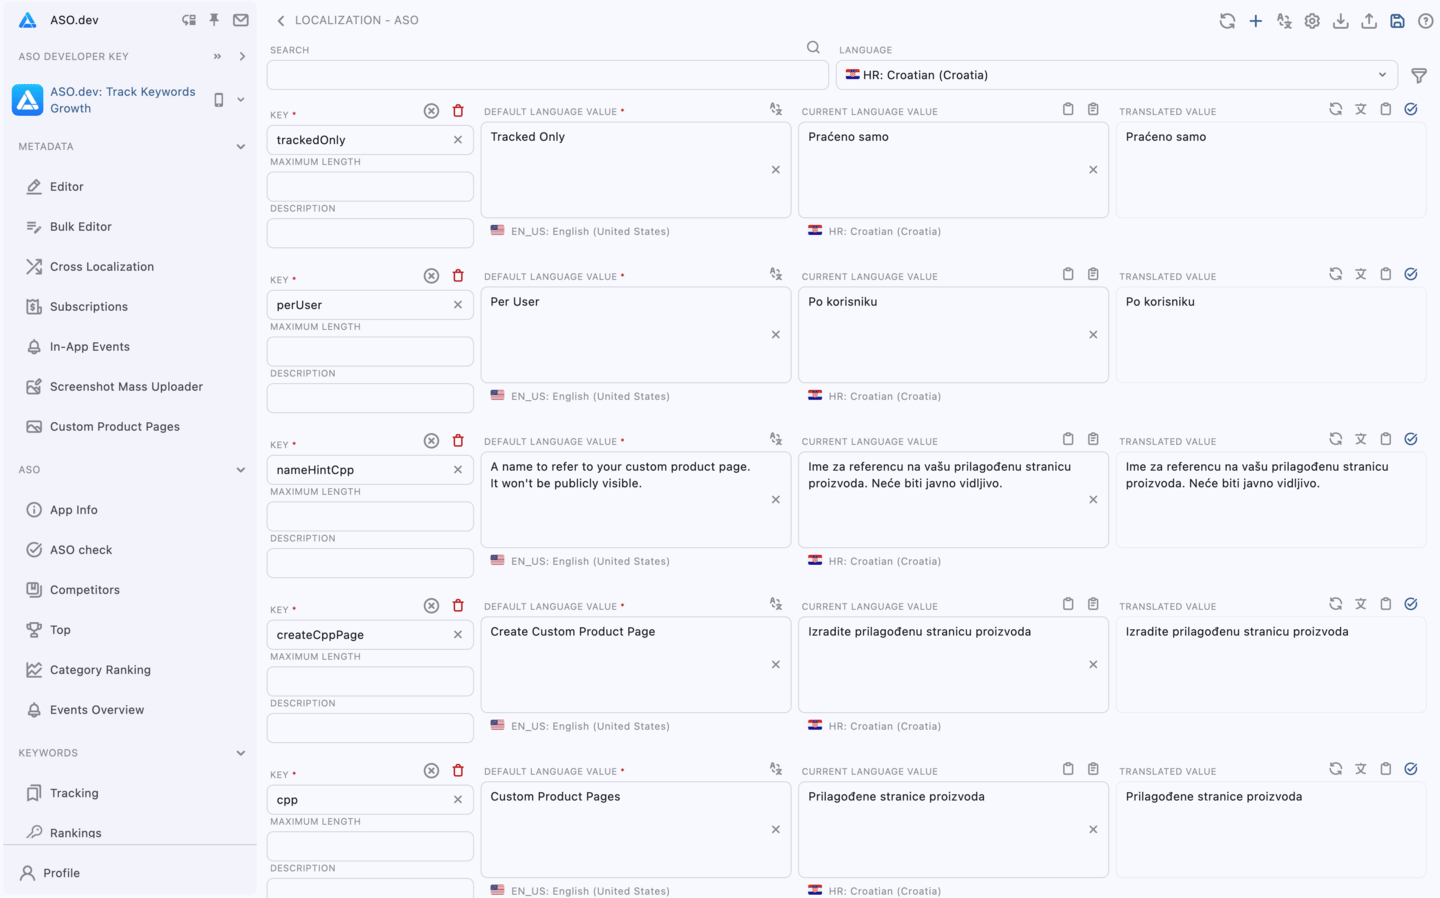
Step 5: Start Translating
Section titled “Step 5: Start Translating”In this section, you can modify translations and switch between different locales as required.
Step 6: Using Variables
Section titled “Step 6: Using Variables”To add variables, use a variable enclosed in curly braces {}.
Step 7: Set Stop Words
Section titled “Step 7: Set Stop Words”If there are specific words you don’t want to be translated, open the Settings Screen > Localization and enter these words in stop-words field.
Step 8: Choose Your Translations Provider
Section titled “Step 8: Choose Your Translations Provider”Default Provider: Google Translate is the default option and is available for free.
Customizing Provider: You can also use Chat GPT (OpenAI) or DeepL by entering your keys in the Profile Page. Adjust their priority by rearranging their order.
Step 9: Download files
Section titled “Step 9: Download files”Exporting Data: Use the export button and select downloading format you need.
Integration: After downloading, integrate the downloaded files into your project’s source code to replace the existing localization.