
Access Rights
Access Rights lets you invite a user to a selected ASO.dev project and choose what they can view and change. Use it for contractors, editors, and analysts who need access to a specific project.
You can share a project connected to App Store Connect through a .p8 API key or to Google Play through a service account. The user works with your project and connection within the permissions you grant. Someone who only needs public data can create their own project.
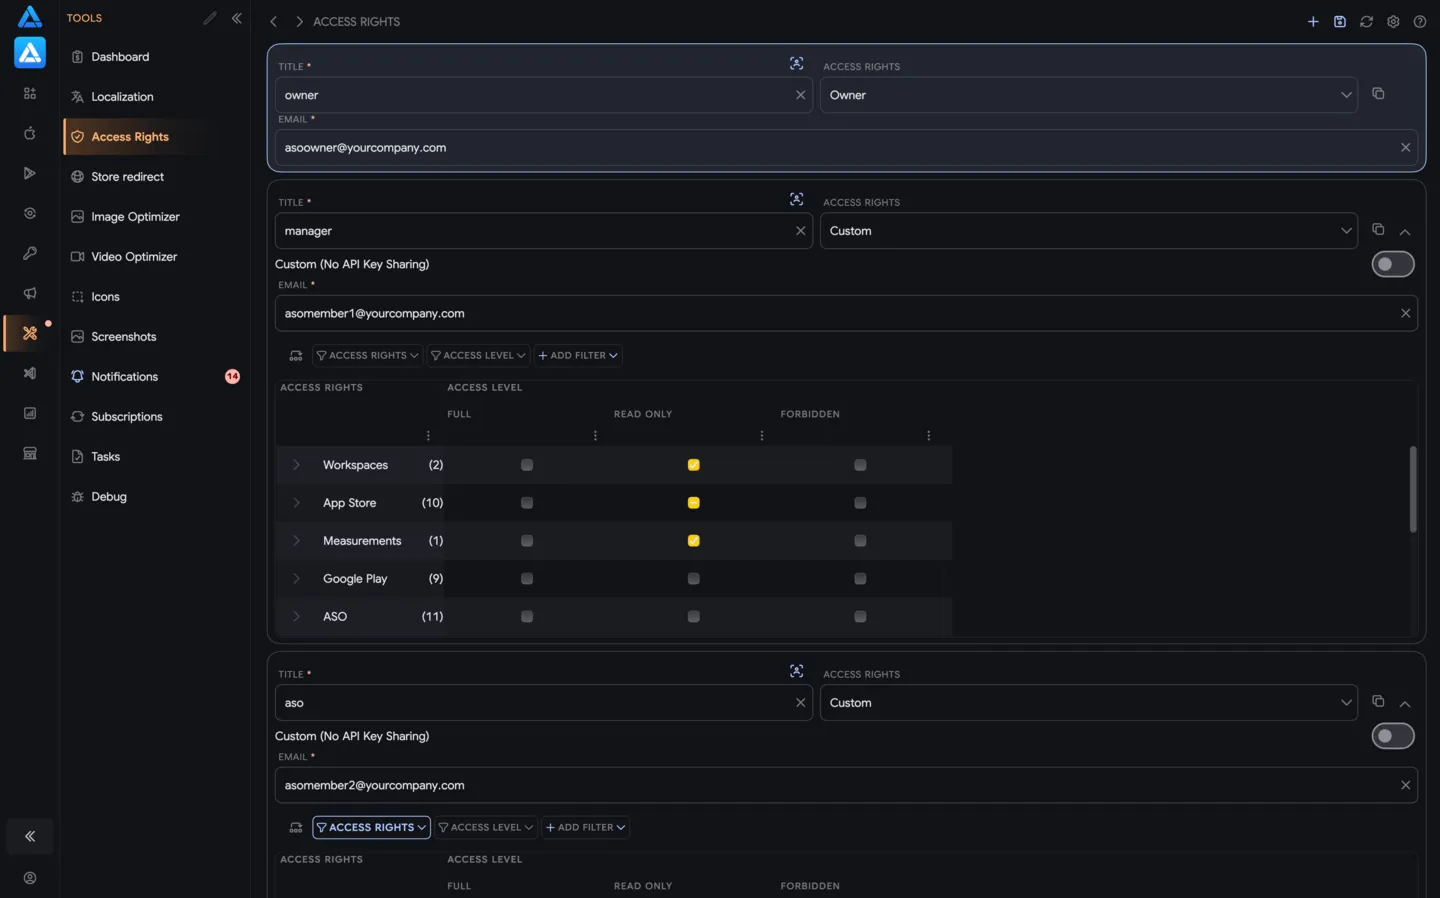
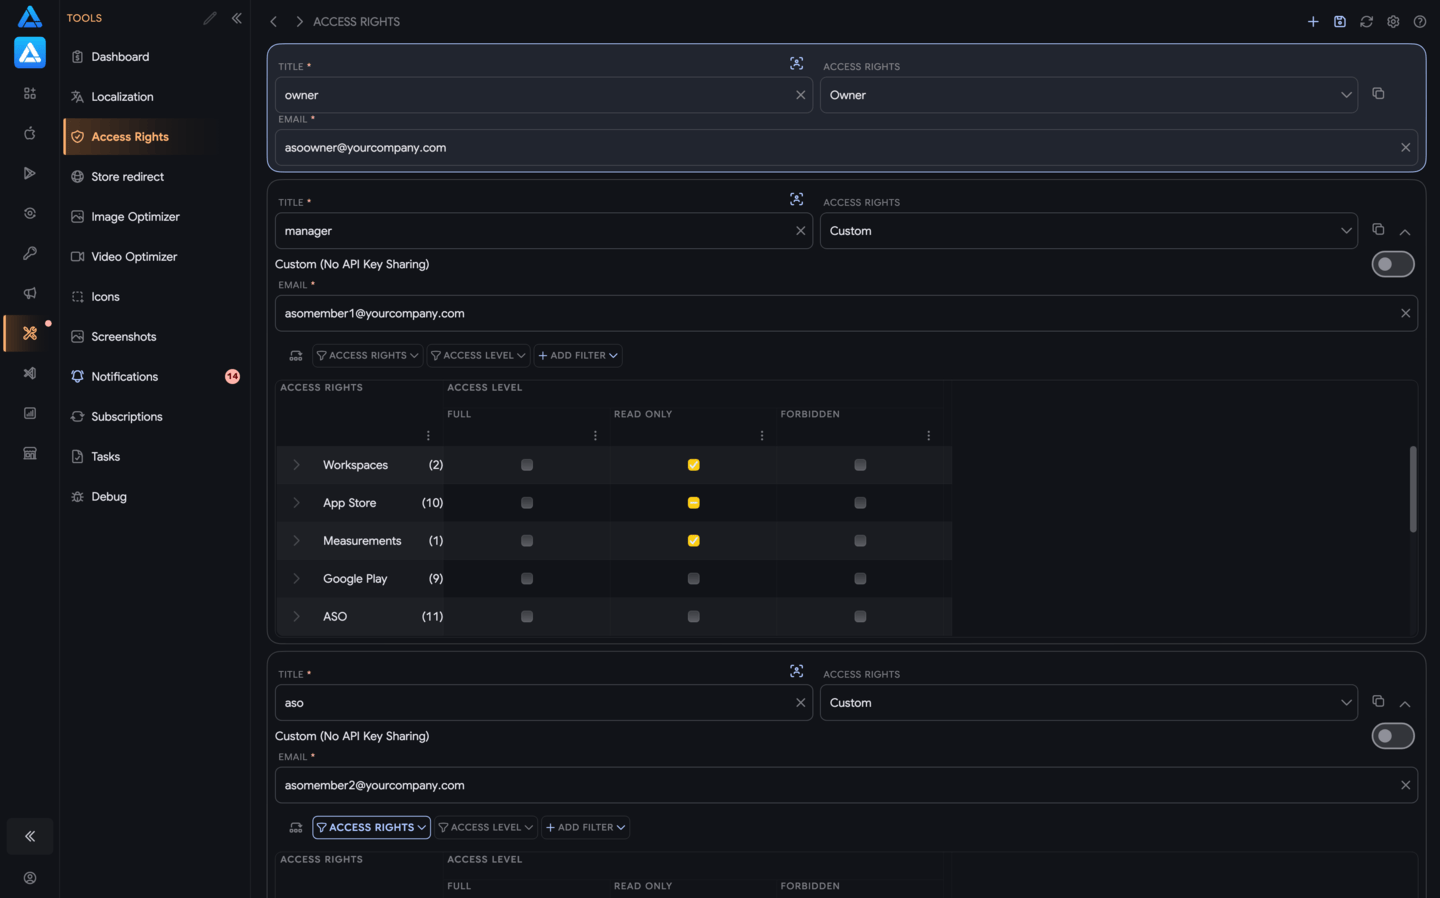
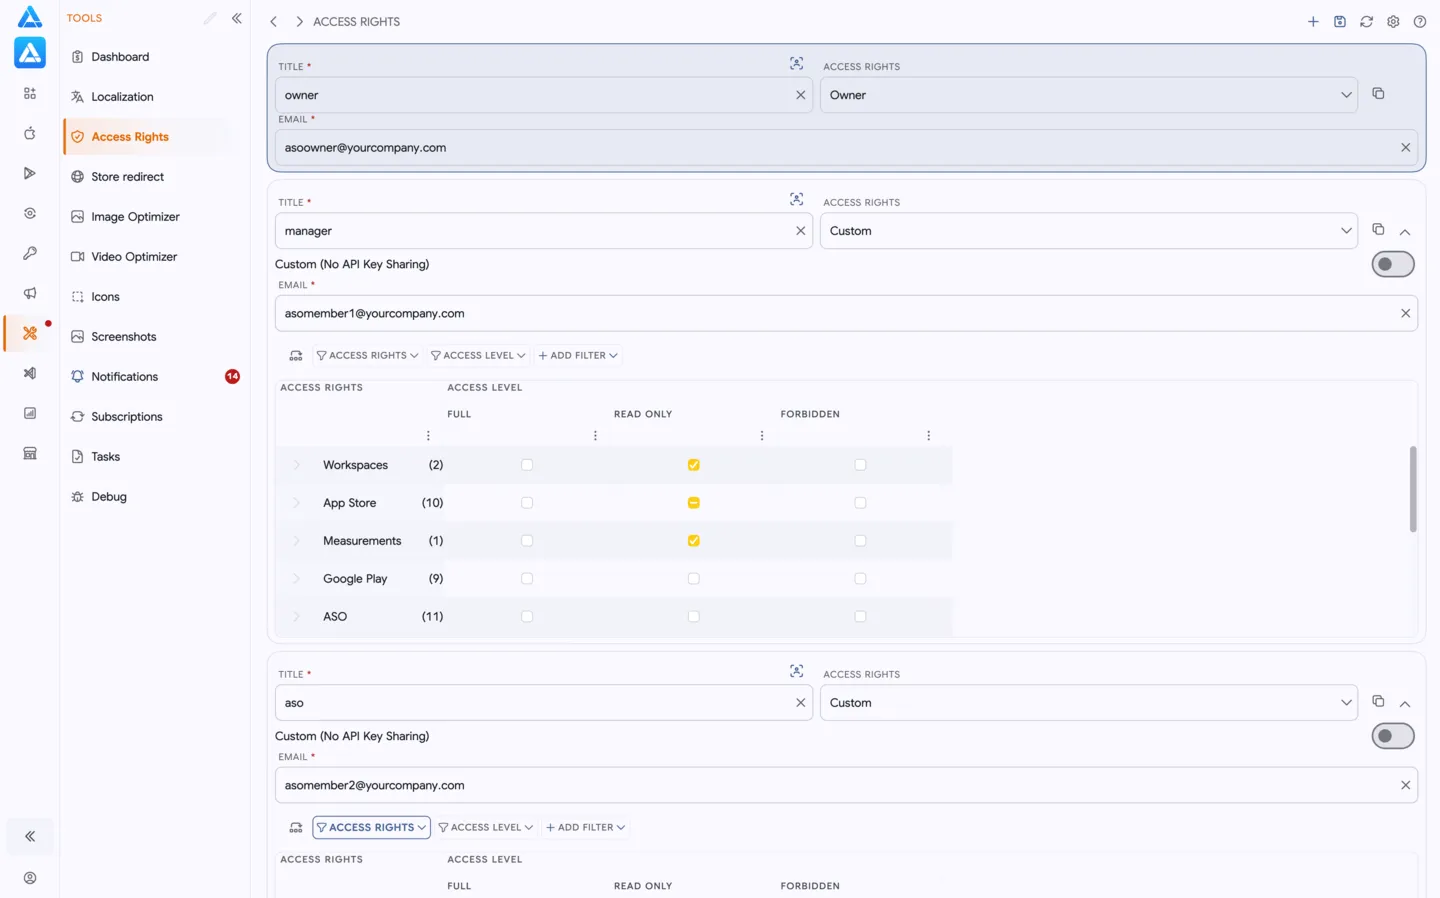
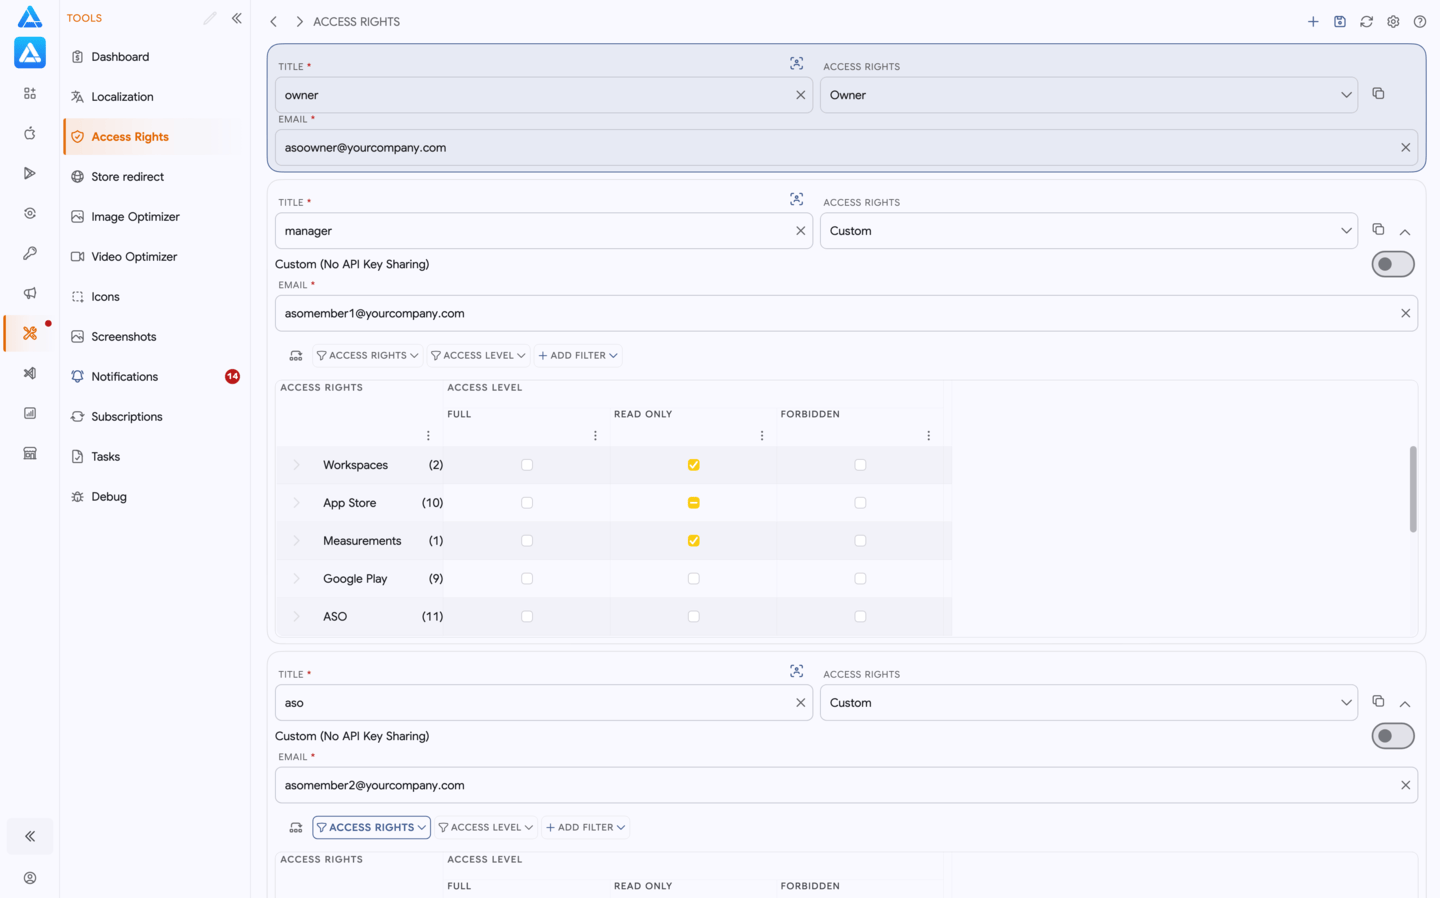
Choose how to share
Section titled “Choose how to share”| Task | Where to configure it |
|---|---|
| Share a specific project and restrict individual sections or actions | Tools → Access Rights in the selected project. |
| Set up a permanent team, share existing and future projects, and assign subscription seats | Profile → Team Management. See the Team Management guide. |
Team Management also lets you give a member Owner, Read, or No access to a specific workspace. Use Access Rights for detailed section permissions.
Project access levels
Section titled “Project access levels”Choose one of three options for each access configuration:
| Level | What it allows |
|---|---|
| Owner | Full project access, including managing other users’ permissions. |
| Custom | Separate permissions for sections and actions. |
| Revoked | Removes access granted by this individual configuration. |
To grant read-only access here, choose Custom and set Read Only for the required sections.
Section access levels
Section titled “Section access levels”In Custom, choose one of three levels for each section:
| Level | What it allows |
|---|---|
| Full | View data and perform the section’s available editing, saving, or management actions. |
| Read Only | View data without changing it. |
| No Access | The section is unavailable. |
Related sections are grouped together. Expand a group to check its sections and actions. You can assign a level to an entire group or to all sections using the checkbox in the column header, then adjust individual rows.
Every section follows this model. Choose permissions based on the user’s tasks and check the list in the app: an editor may need Full metadata editor access, while an analyst needs Read Only for relevant reports.
Grant access
Section titled “Grant access”- Select the project and open Tools → Access Rights.
- Create an access configuration, give it a name, and enter the user’s email address.
- Choose Owner or Custom.
- For Custom permissions, set Full, Read Only, or No Access for the required sections. Check individual actions within groups and the API key sharing setting.
- Click Save. The access link becomes available after saving.
- Give the user the link and, if required, the encryption code. See workspace setup for details.
After saving, use Rights check to check the available sections and actions.
If you select No API Key Sharing, section permissions alone do not provide a store connection. App Store Connect operations need an API key, and Google Play operations need a service account with the required permissions.
Permission examples
Section titled “Permission examples”- Analyst: Read Only for relevant reports and keyword lists, with No Access for other sections.
- App Store metadata editor: Full for the Editor and No Access for Editor: Publish when someone else handles publishing.
- Review management: Full for the relevant store’s reviews — App Store or Google Play. Set other permissions according to the user’s responsibilities.
App Store Connect and Google Play
Section titled “App Store Connect and Google Play”App Store Connect metadata editing and publishing have separate permissions: Editor and Editor: Publish. You can give one person responsibility for preparing metadata and leave publishing to another.
In the Google Play group, configure access to the editor, reviews, releases, and other required sections. Full Google Play editor access includes saving metadata to the store and sending it for review when the service account permits it. Take these actions into account when granting editor access.
Change or revoke access
Section titled “Change or revoke access”Open the existing configuration, change the access level or section permissions, and click Save. To restrict one section while keeping the others available, set it to No Access.
To remove individual project access, click Revoke or choose Revoked and save the configuration. If the user also receives access through the team, check their permissions in Team Management.